Of all the makeup techniques, curling your lashes is probably one of the most understated ones. It is a great way to give an instant lift to your lashes, and it hardly takes a couple of seconds to curl your lashes using an eyelash curler. Curling your lashes is an incredibly simple step, you can easily incorporate this step into your beauty routine, and it is actually an excellent way to make your peepers look bigger.
The act of curling lashes using an eyelash curler can be a tad bit difficult or tricky for some women. Women with small and straight lashes, in particular, have a hard time curling their lashes, but it doesn’t have to be a tricky process. Every woman wants their lashes to look long and wispy, but the ones who are not blessed with such lashes need not feel disappointed. You can also make your lashes look all long and fluttery by curling them the right way.
We have created a step-by-step guide for you on how to curl your short lashes like a pro.
Step 1: Clean your lashes
First things first, it is really important to ensure that your lashes are all clean and don’t have any eye cream or mascara residue stuck onto them. Clean lashes are way easier to curl, therefore, you should always make sure to clean your lashes first using makeup remover to rid them of all the residues. You can gently swipe a cotton pad soaked in makeup remover or micellar water across your eyes to clean your lashes.
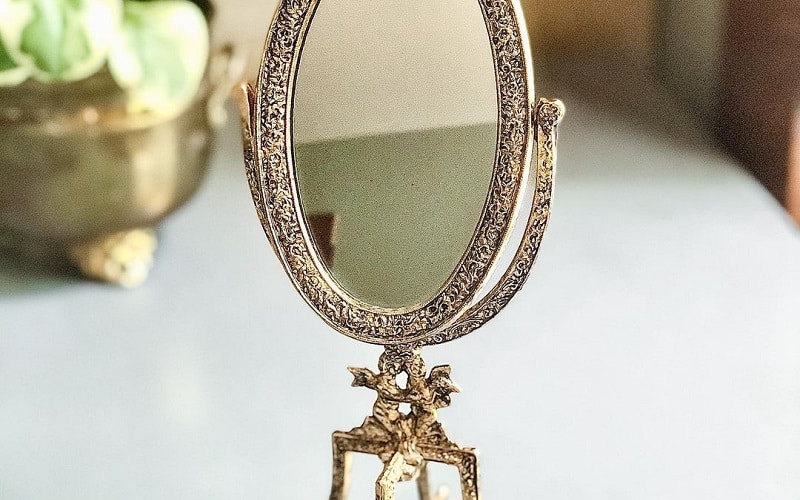
Step 2: Choose the right placement of your face

When it comes to curling your lashes, it’s very important to have your face in the right placement and look into the mirror the right way. You should prefer curling your lashes in front of a handheld mirror instead of standing in the front of the ones that are in your bathroom or vanity room. Take your handheld mirror and place it on the top of your table. Now you need to make sure that you are looking into the mirror the right way so that you can curl your lashes easily. Instead of keeping your face straight or downwards, you should tilt it up a bit and then look down into the mirror to begin the process.
Step 3: Curl your upper lashes
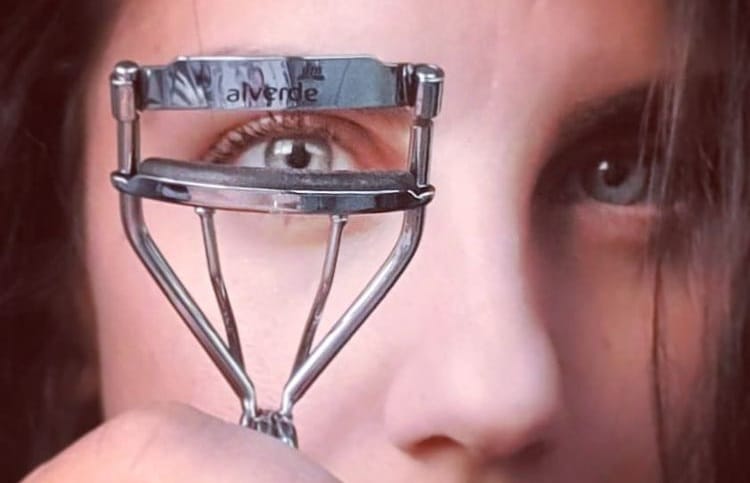
Take your eyelash curler and push your lashes in between the curling strips. Make sure to place the curling strip close to your roots to make the most out of this technique. Also, you should try holding most of your lashes in the curler before closing or pressing it. Once you have closed your curler, keep holding it for about 10 seconds before releasing it. It is a great way to give your lashes an instant lift without causing any harm to them.
Step 4: Curl your lashes at multiple places

Merely curling your lashes at the roots won’t give your perfectly curled lashes; you need to curl them at different places to achieve the desired results. This time, you will have to curl your lashes in the middle, and instead of holding the curler for 10 seconds, you should gently keep pressing it multiple times to give your lashes an instant curled and lifted-effect.
Step 5: Apply mascara
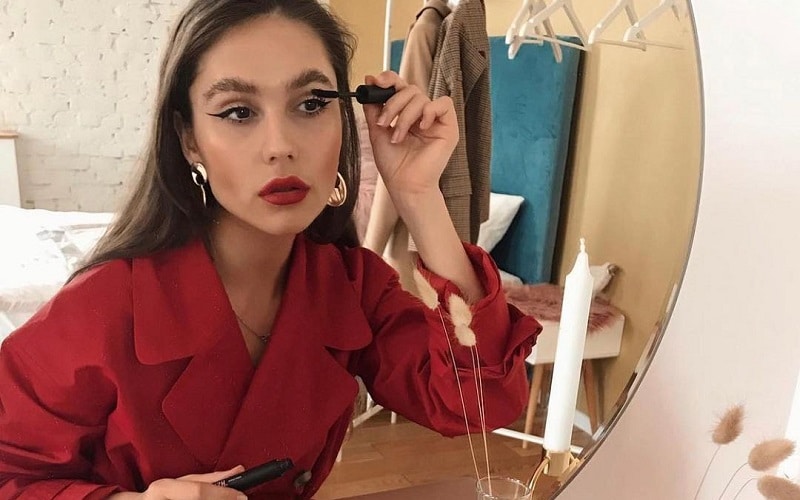
The last and final step is to apply mascara on your perfectly curled lashes. Take a lengthening and curling mascara and apply two to three coats of it to your lashes. Applying mascara on your curled lashes will help make them look a lot longer and your eyes bigger.