
Your makeup can never really look the same without makeup tools, and taking them for granted is something you shouldn’t really do. Makeup brushes are an imperative part of makeup tools, they help to make the application of so many beauty products a lot easier and hassle-free. And since your makeup brushes have never turned their back on you, neither should you. If we talk about committing a cardinal beauty sin, then using your makeup brushes without cleaning them at least once every week can top the list.
Cleaning your makeup brushes often might not seem like a big deal to you, but believe us, it really is a big deal. Exposing your skin to dirty makeup brushes can result in acne breakouts and that’s the last thing anybody wants, therefore, it’s better to be safe than sorry. While we understand cleaning makeup brushes is the most boring and tedious thing to do, it shouldn’t be used as an excuse to not do the job. To make things a bit easier for you, we have created a step-by-step guide that will enable you to deep clean your makeup brushes in a jiffy.
Step 1:
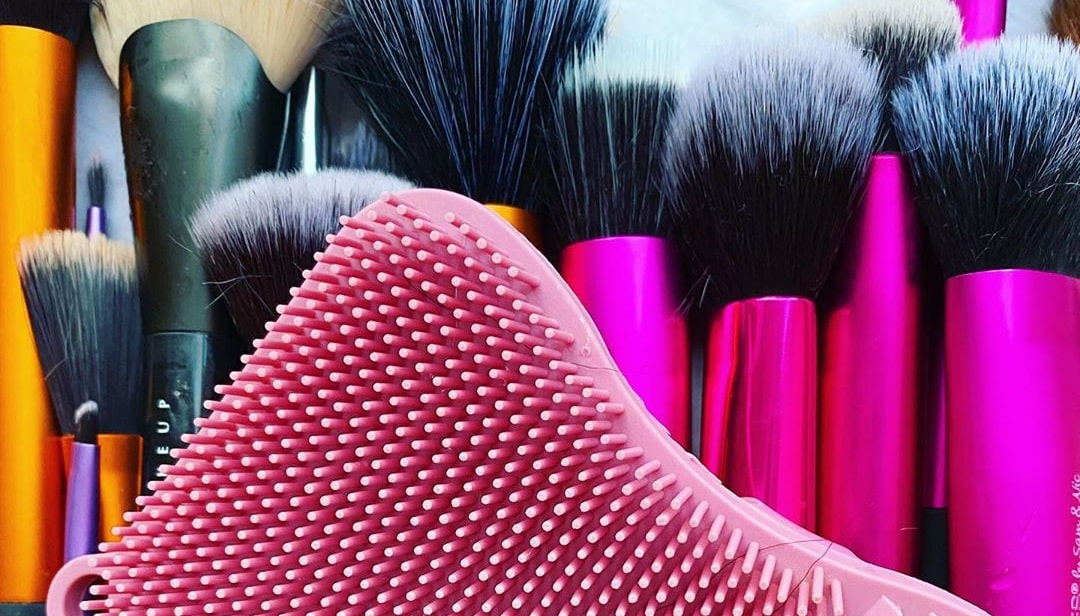
The first step is to hold your makeup brushes facing downwards over the sink. After that, take lukewarm water in a jar and pour it over your brushes. The reason behind holding the brushing facing downwards is to keep the water from seeping into the barrel. If you don’t hold the brushes in such a way, the water will seep into the barrel, which, in turn, would break down the glue that is responsible for keeping the bristles together.
Step 2:
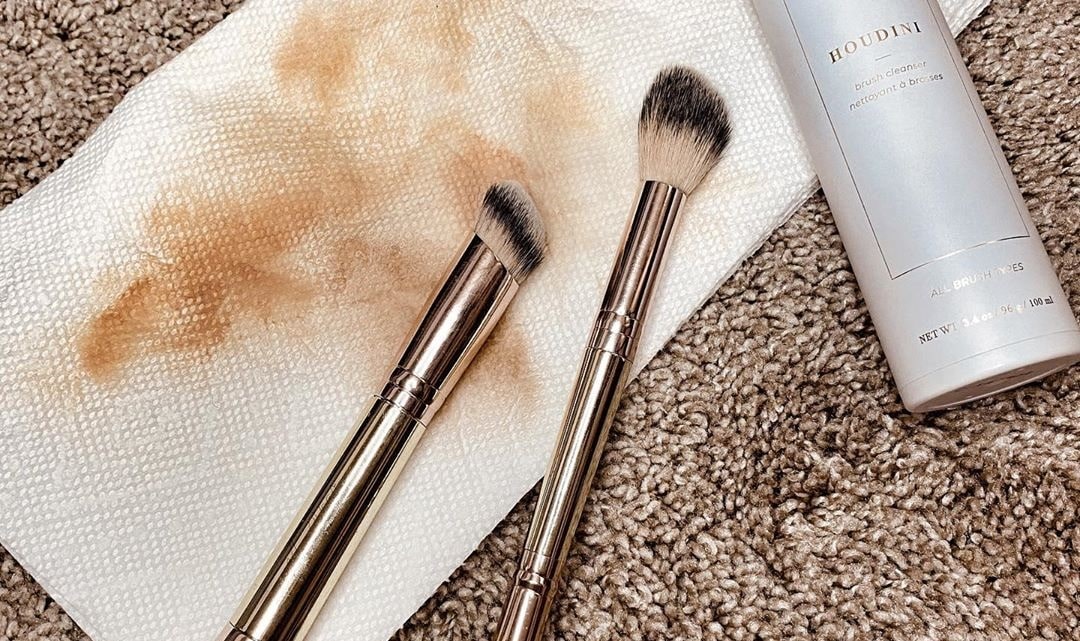
The next step involves deep cleaning your makeup brushes, and for that, you will need a liquid cleanser. Take some amount of liquid cleanser on your palm or a cleansing pad, pick your makeup brushes one by one, and start swirling the bristles to get rid of all the makeup residue, dirt, dust, or anything that’s sitting on the bristles. After deep cleansing all your makeup brushes and rinsing them with water, make sure to squeeze the bristles to get rid of leftover cleanser or excess water if any.
Step 3:
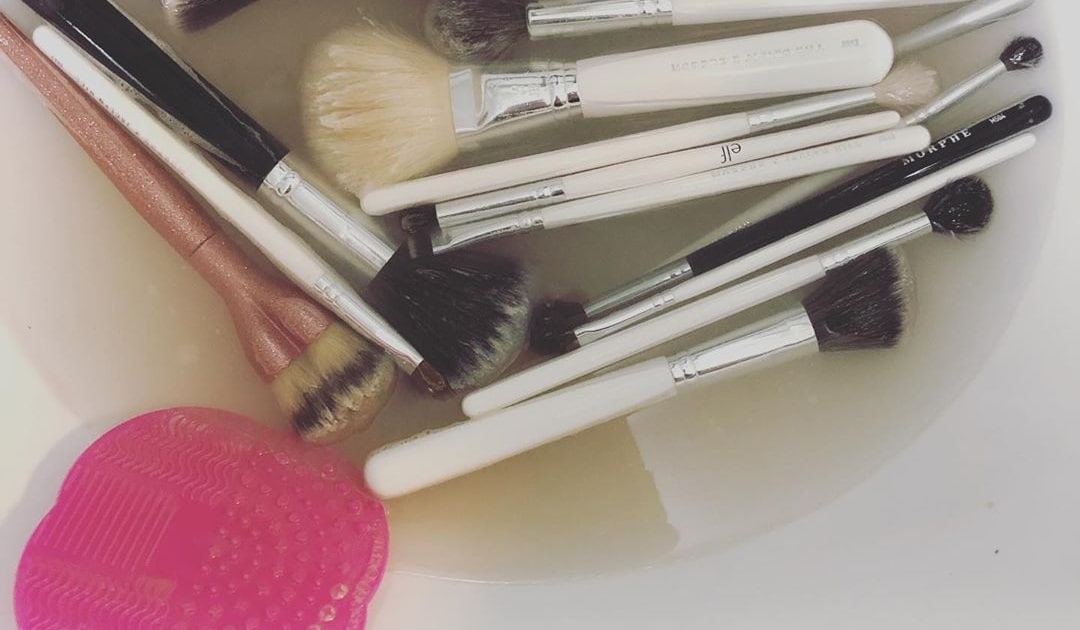
In this step, you will have to rinse all your brushes with water again. Just remember that you will need lukewarm water to get the job done. Another important thing to keep in mind is to hold the brushes facing downwards. Take lukewarm in a jar and pour it over the brushes, just be careful with the placement of the brushes as you cannot let the water seep into the barrel.
Step 4:
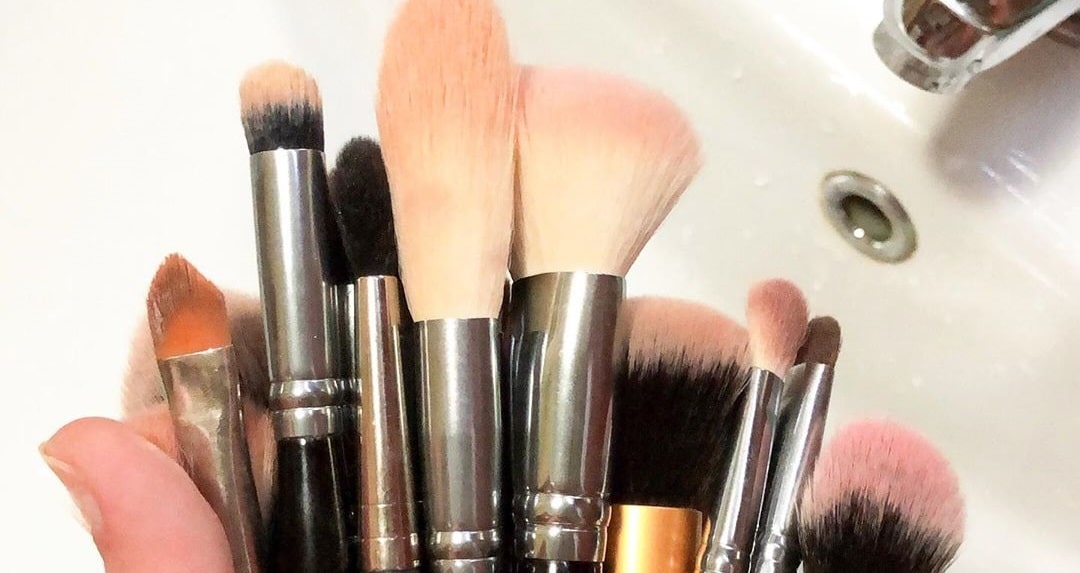
After you are done with all cleansing and rinsing, it’s time to allow your brushes to get dry. Before laying them on a tabletop to get dry, make sure to get rid of excess water by squeezing the bristles. And you just can’t place the brushes in their current form, you will have to reshape the bristles so that once they get dry, they retain their original shape.
Step 5:
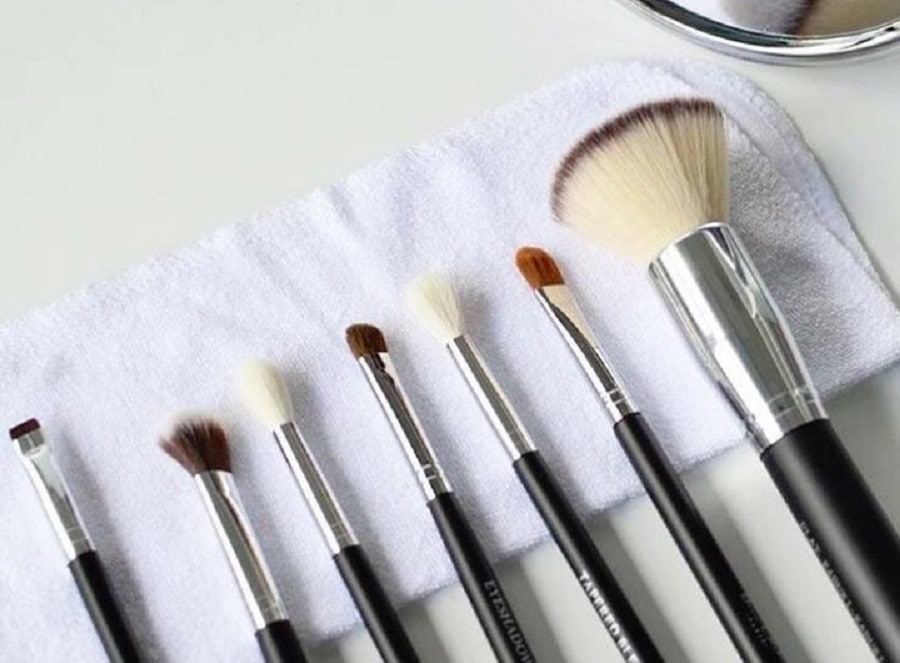
The last and the final step is to put your brushes on a flat surface to allow them to get dry. And you cannot put them anywhere randomly; lay them in a way so that the bristles are hanging over the edge of the table. This will make sure that the bristles receive enough air circulation, and that will further allow the head of your brushes to dry off thoroughly. Alternatively, you can also place your brushes under a fan, keep it running on full speed, and this will allow your makeup brushes to dry off pretty quickly.


